
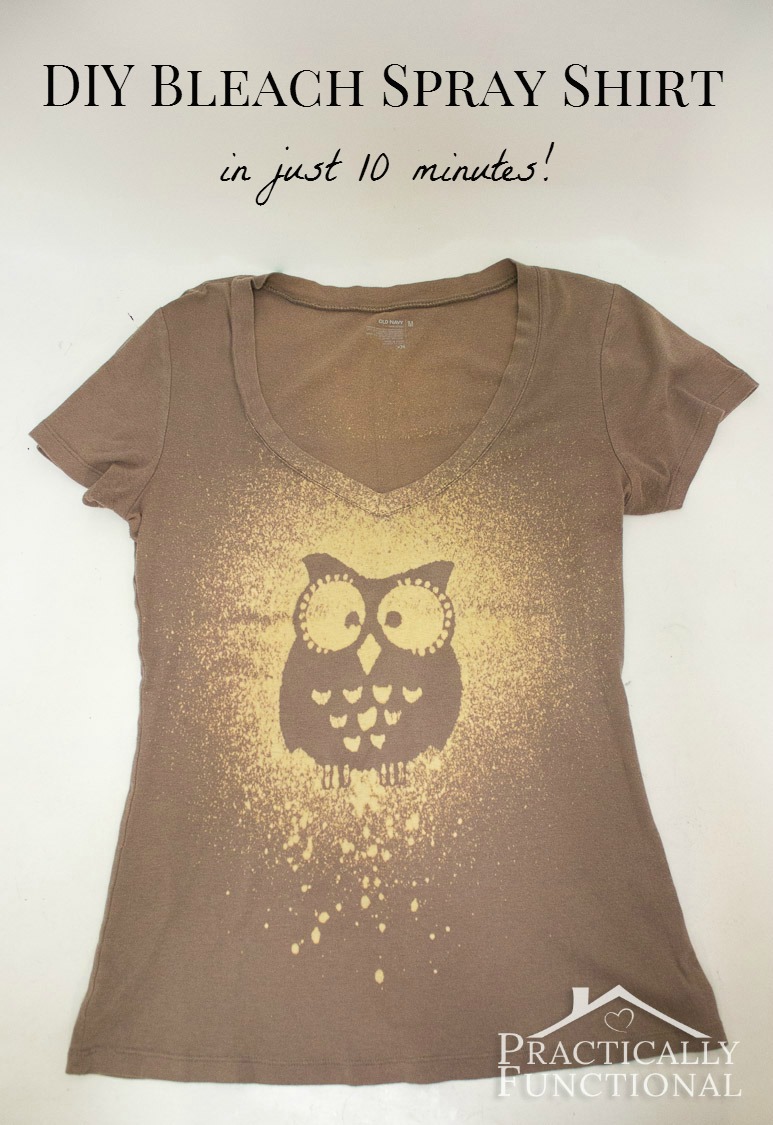
Once you have a fun idea for your bleach t shirt design, we’ll get started!
DIY Bleach Spray Shirt
Here’s what you need to make your own bleach shirt: (affiliate links below)- plain cotton t shirt
- bleach
- stencil (you can find a pre-made stencil or make your own with stencil vinyl and a Silhouette Cameo; if you like the owl image I used, you can click here to see it, then right click the image and choose Save As)
- spray adhesive
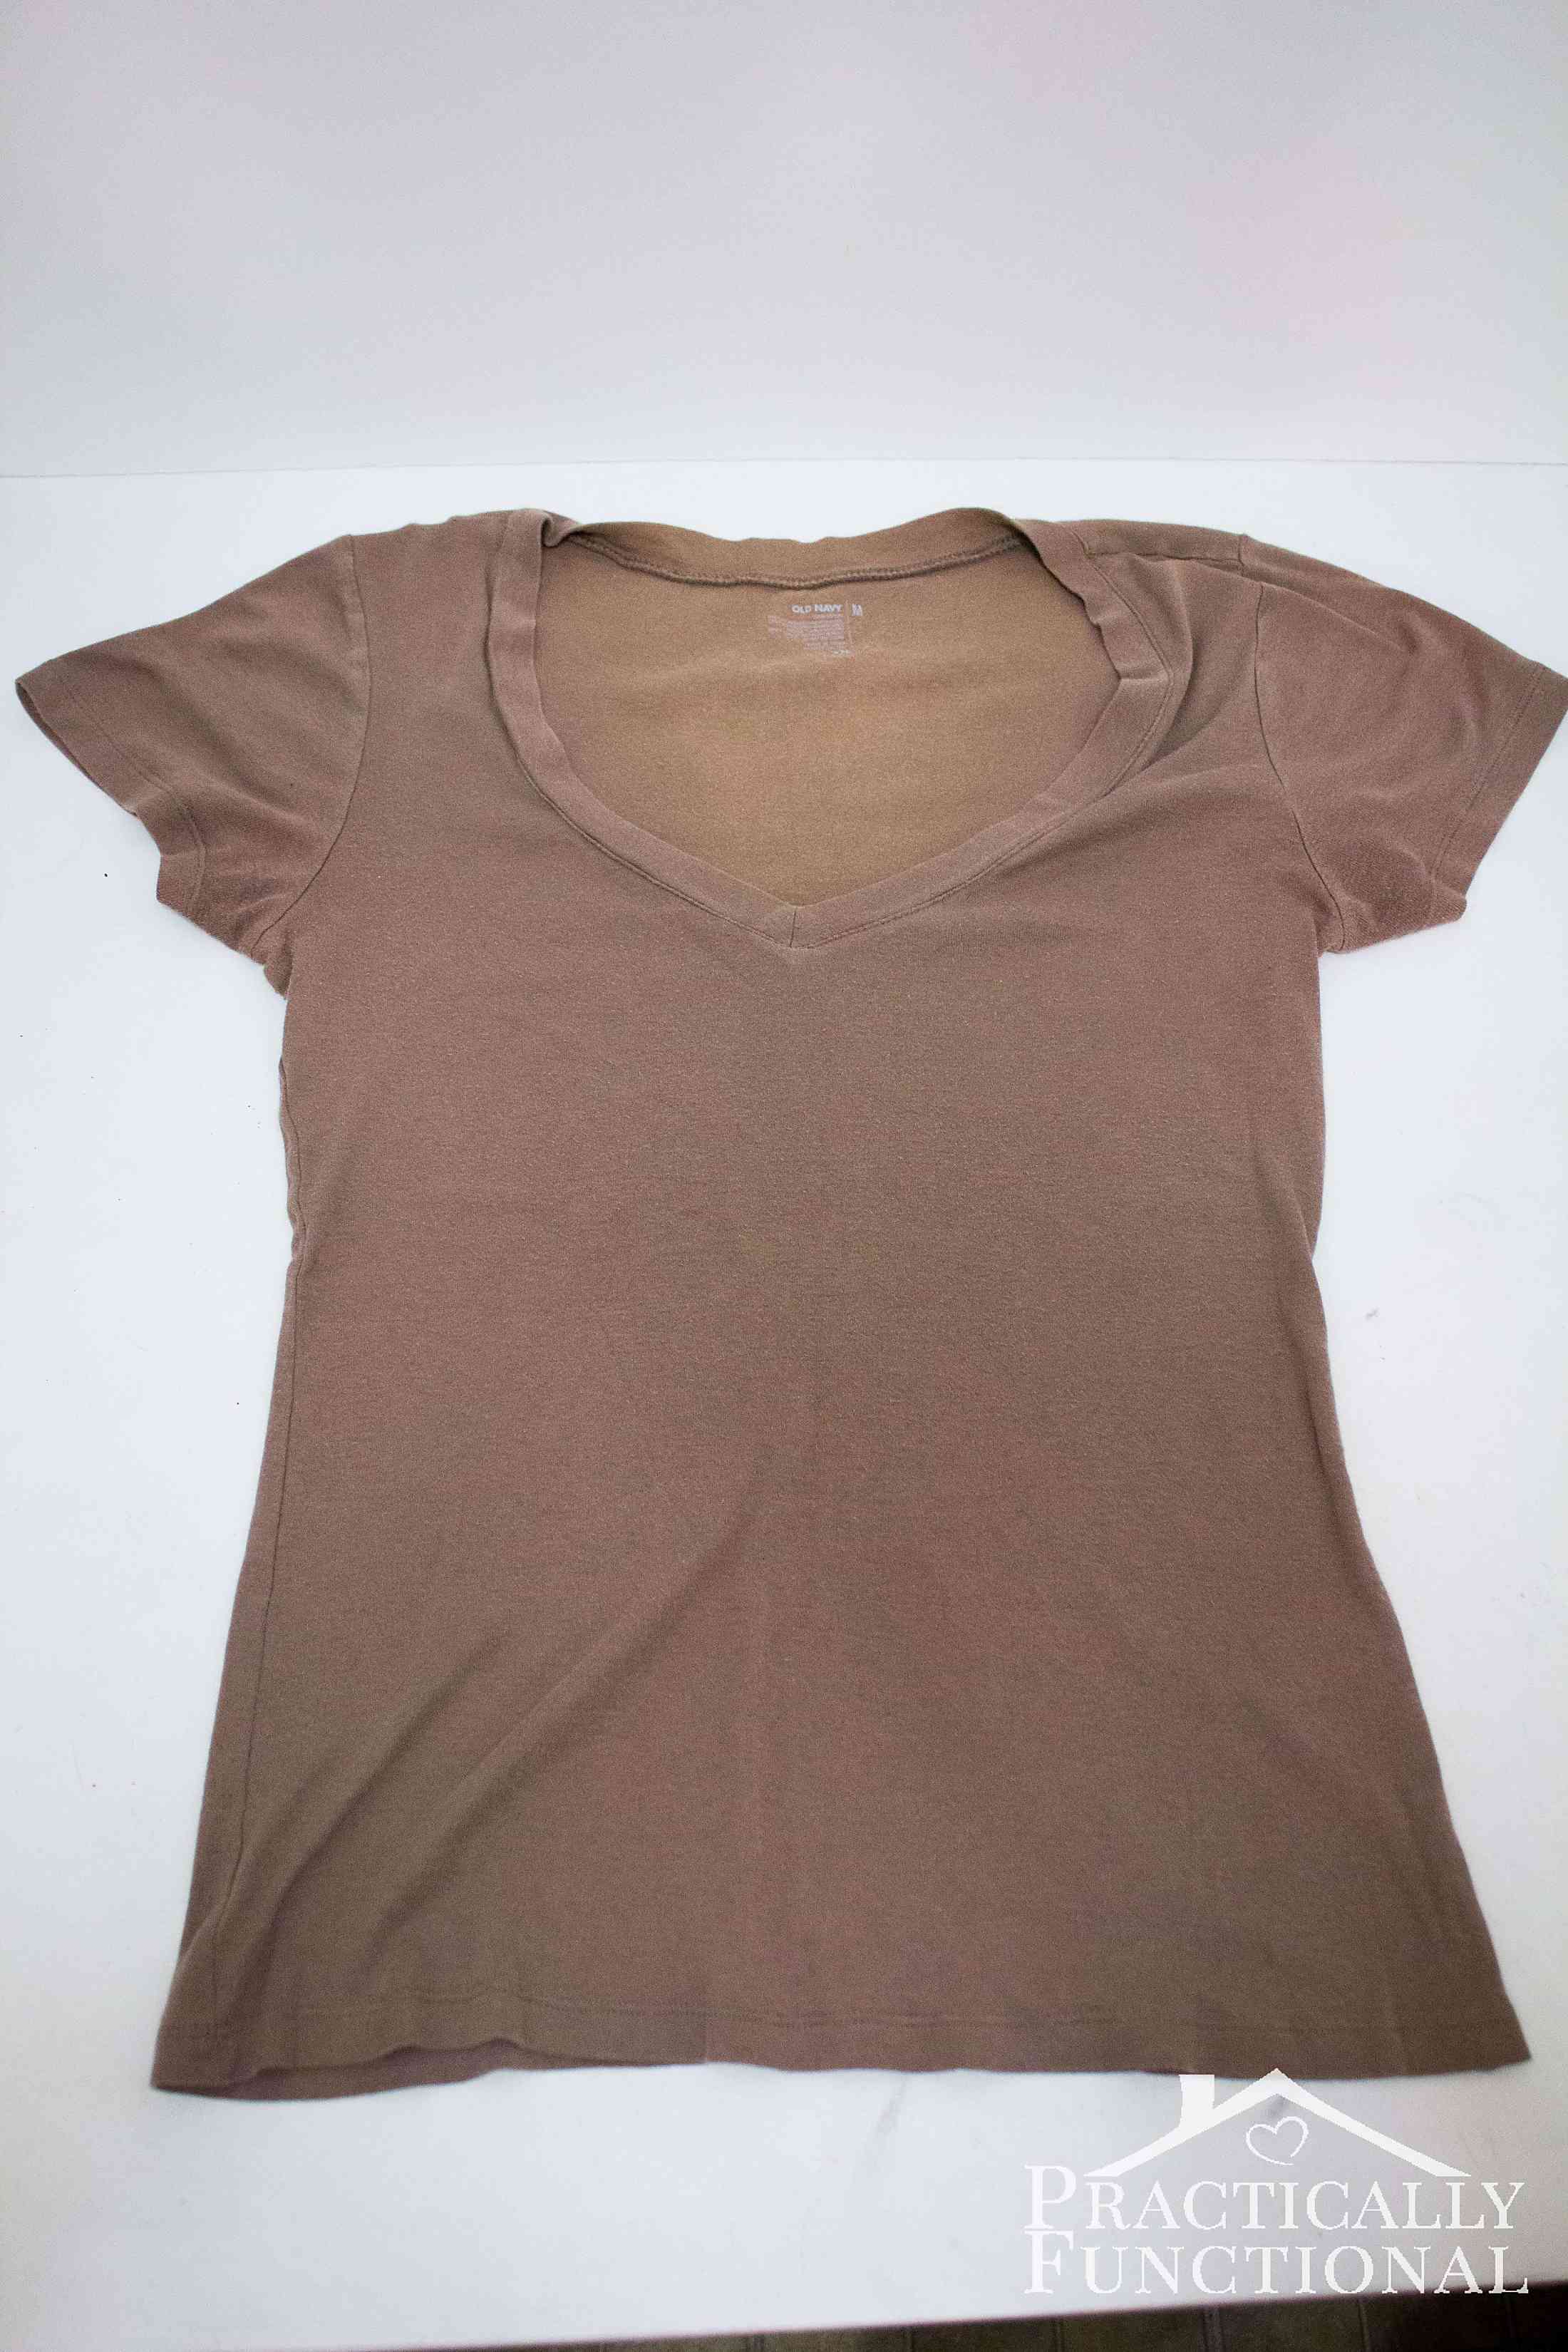
Attach your stencil to the shirt. If you found a pre-made stencil, lightly spray the back of it with spray adhesive, place it on your shirt, and firmly press down all the edges. If you made your own stencil, make sure you cut it out of adhesive vinyl. My stencil had a few separate “loose” pieces, so I used transfer paper to transfer the stencil onto my shirt without losing any pieces.
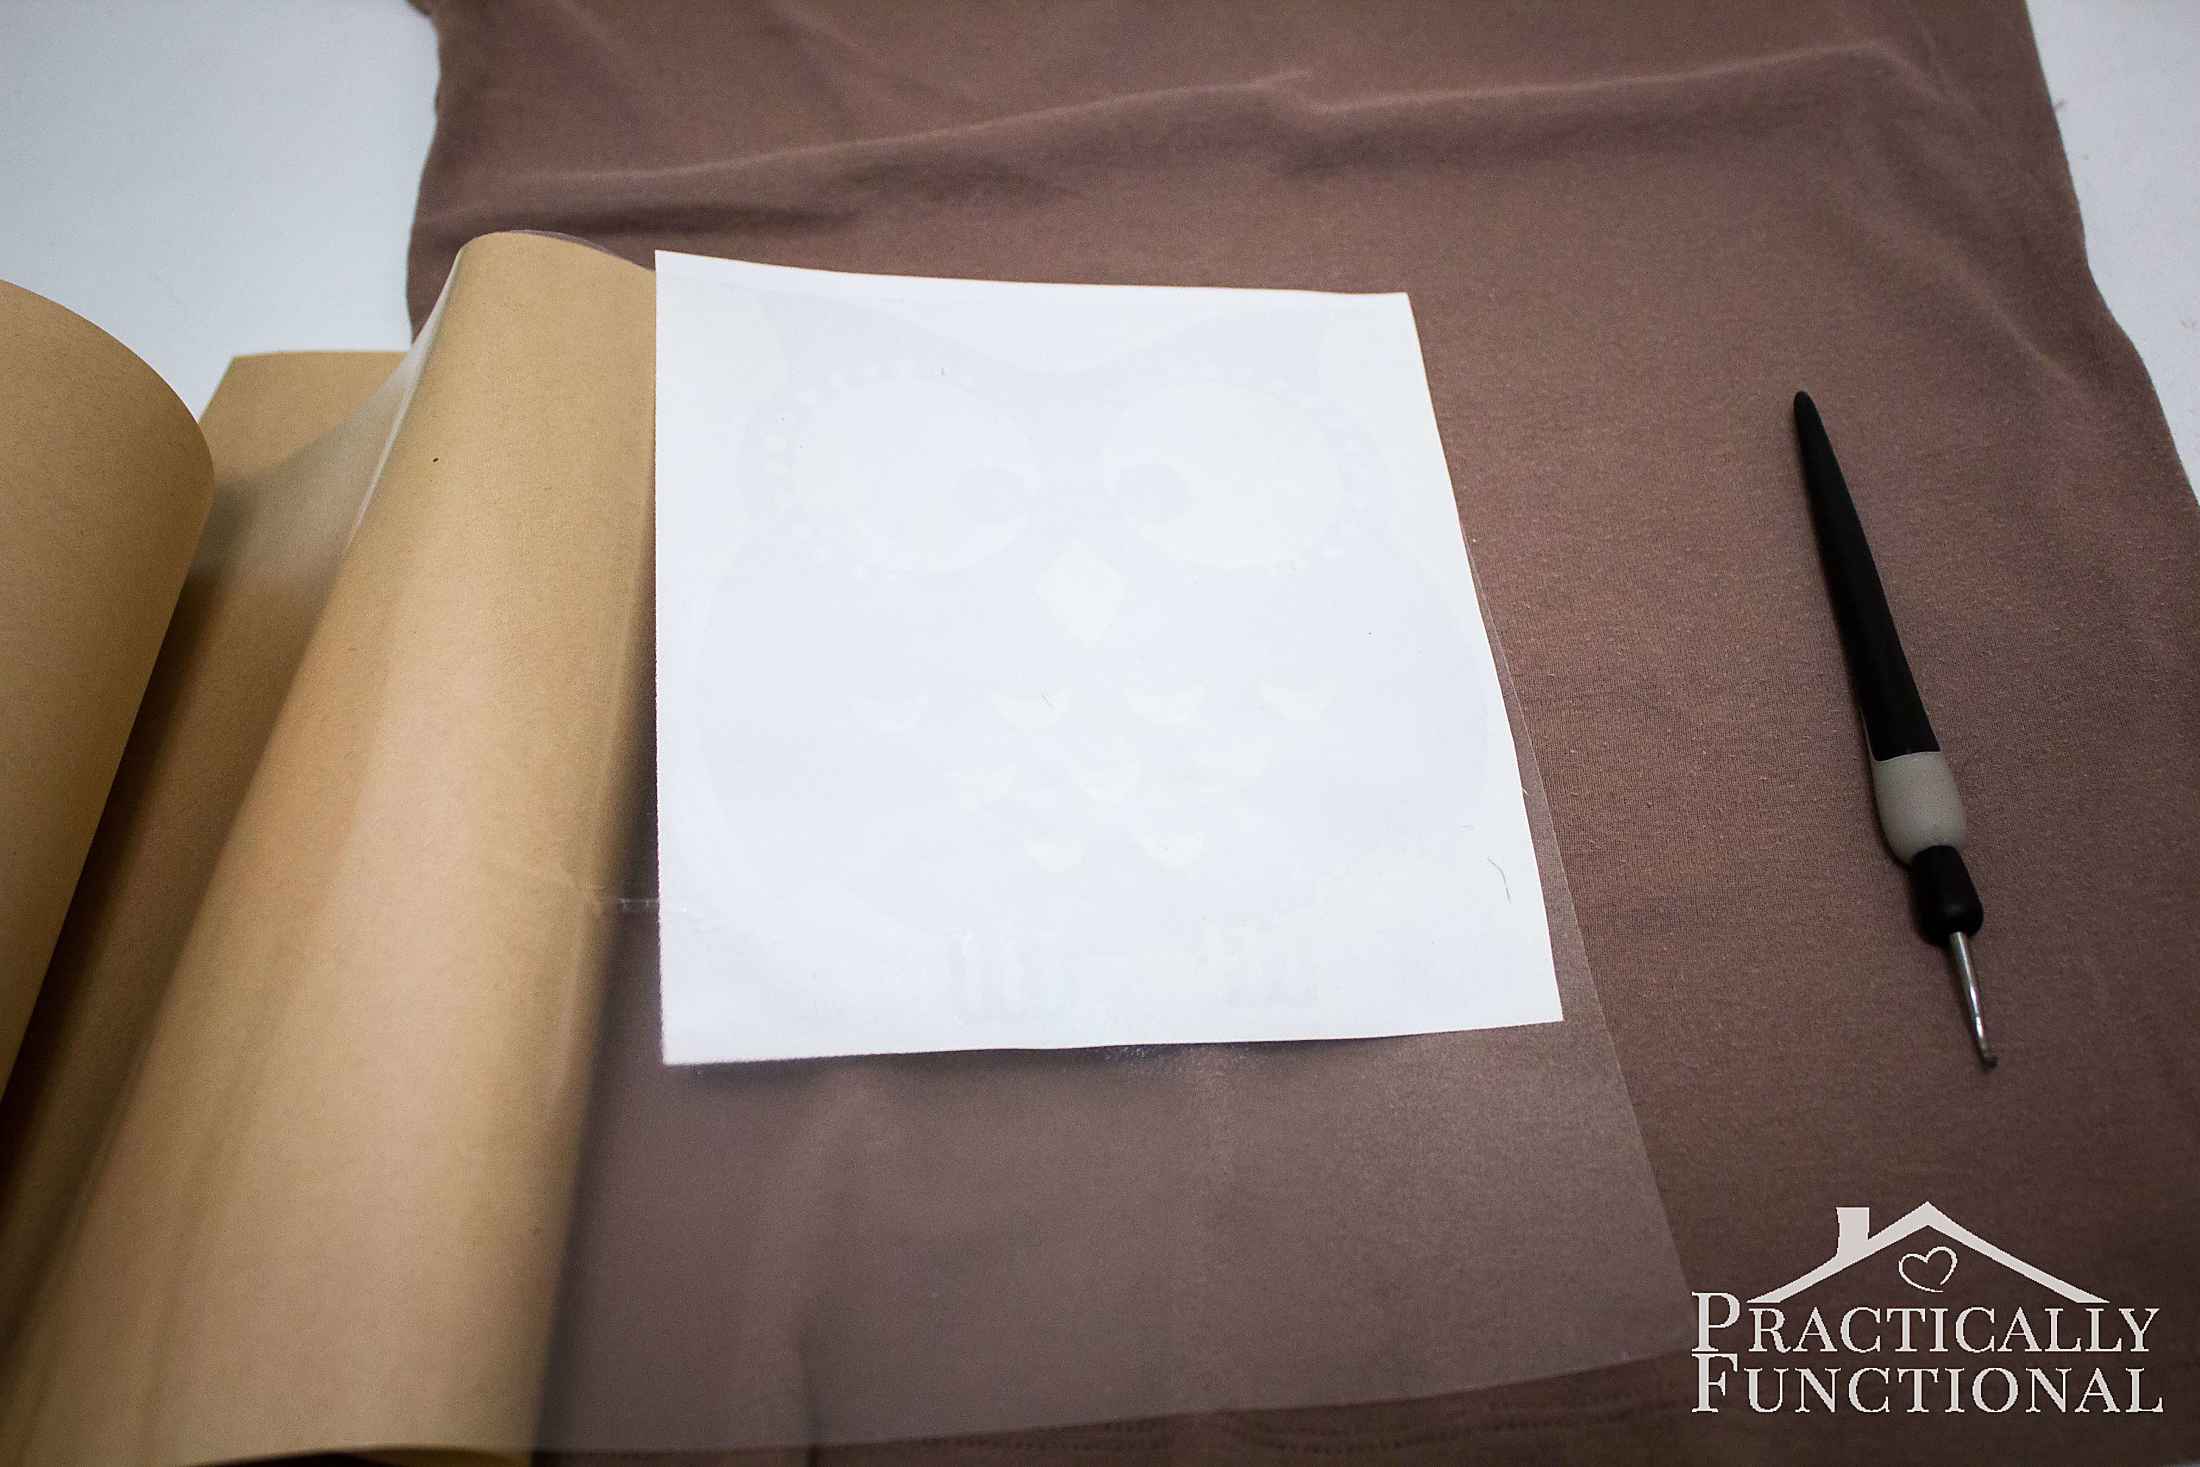
Just press the transfer paper down on top of your stencil, then gently remove the stencil from the paper backing. The transfer paper will hold the stencil pieces in place. (It’s a little hard to see in the photo below; the clear transfer paper is on top of the clear stencil, but I haven’t yet peeled the paper backing off of the stencil.)
Place the stencil on your shirt and firmly press down all the edges. Then gently peel up the transfer paper, making sure the stencil stays attached to your shirt. Once the transfer paper is gone and the stencil is firmly stuck to your shirt, you’re ready to bleach!

Pour about a quarter cup of pure bleach into a spray bottle. You don’t need to dilute the bleach for this project. Set the spray nozzle to spray a super fine mist. Trust me, the tiniest bit of bleach will do the job! If you’re worried about how heavy your spray will be, practice spraying a piece of cardboard first. You want the bleach to just barely mist the surface of the cardboard, not soak it!
Start by gently spraying a very light coat of bleach onto your shirt all around the stencil; one or two trigger pulls will do it, you don’t need a lot of bleach. Immediately blot the whole area with a paper towel. You don’t want any giant puddles of bleach on your shirt or on your stencil!
Bleach works pretty quickly, but it can take up to two minutes for the bleach to pull all the color out. One or two sprays of bleach will eventually lighten the whole area; don’t get impatient and spray more bleach, just give it more time to start working. If it’s not bleached enough after a few minutes, do another gentle spray, blot it up, and wait again.
Also, don’t freak out when the shirt changes colors during the bleaching process! About fifteen seconds in, the bleached areas of my shirt turned green and I thought I had ruined the whole thing! That is just the color starting to come out of the shirt. About ten seconds later it had turned orange like in the picture below.
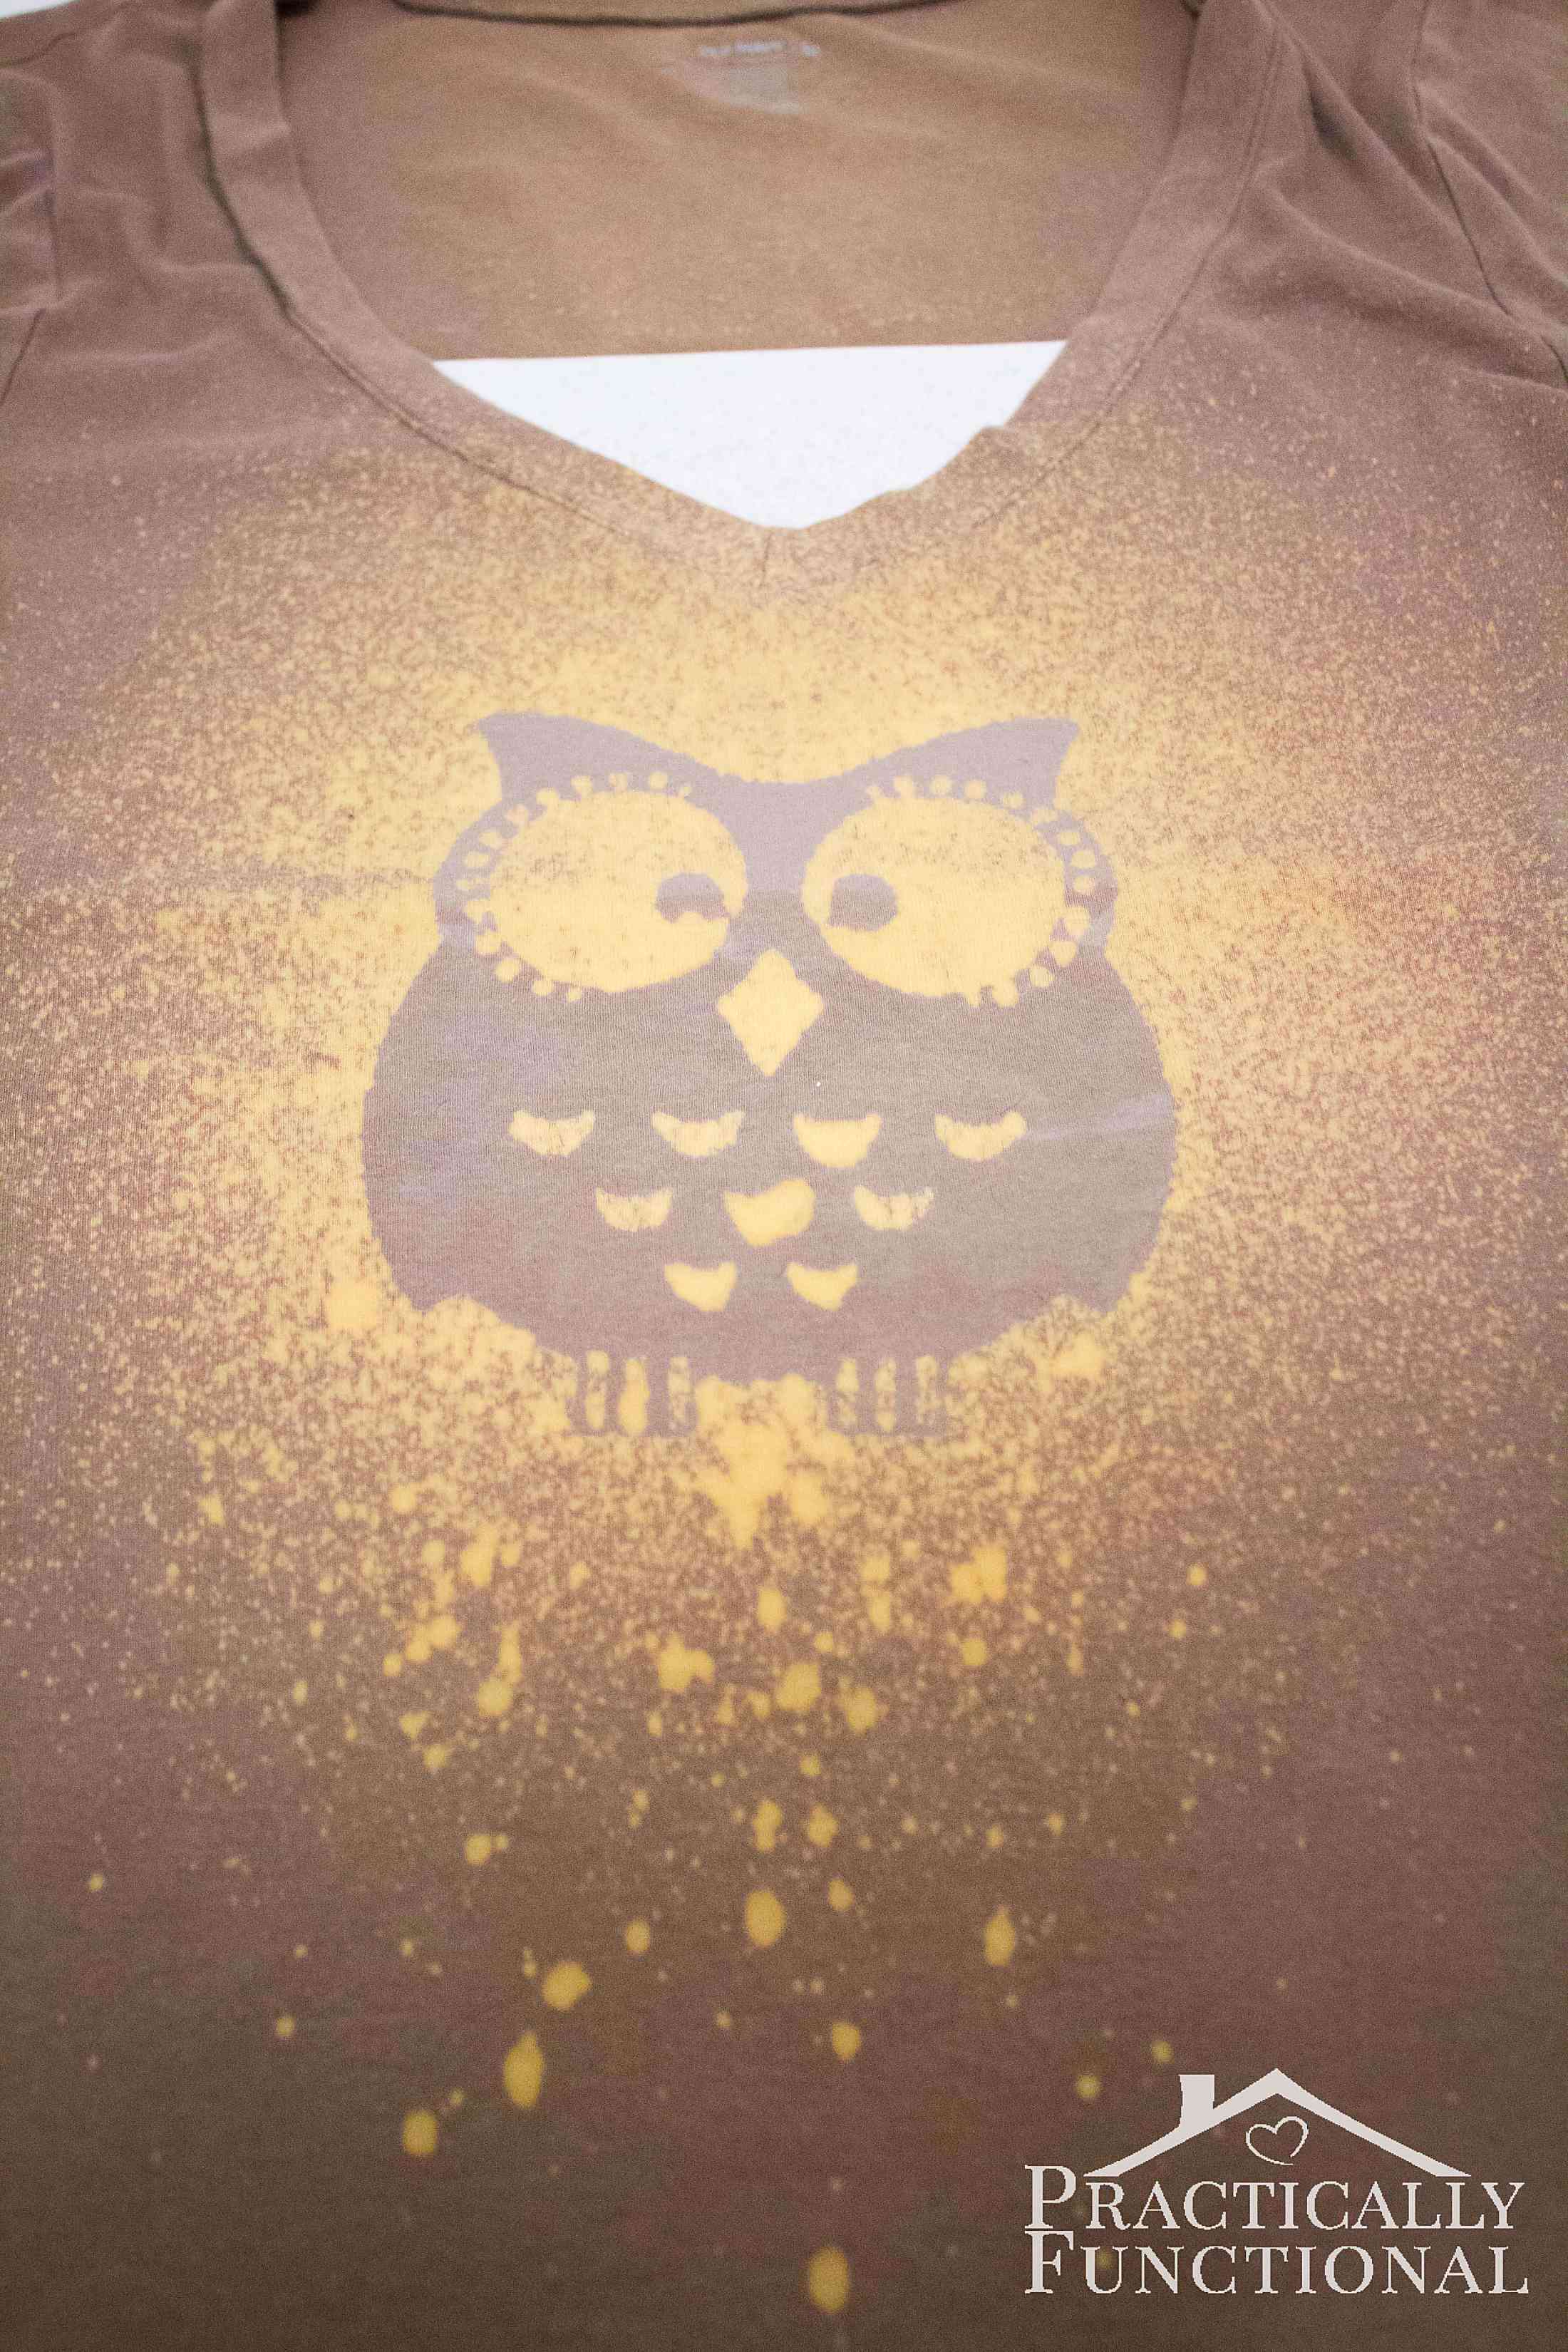
By the time the bleach had completely finished working, the bleached areas were a nice light tan color!
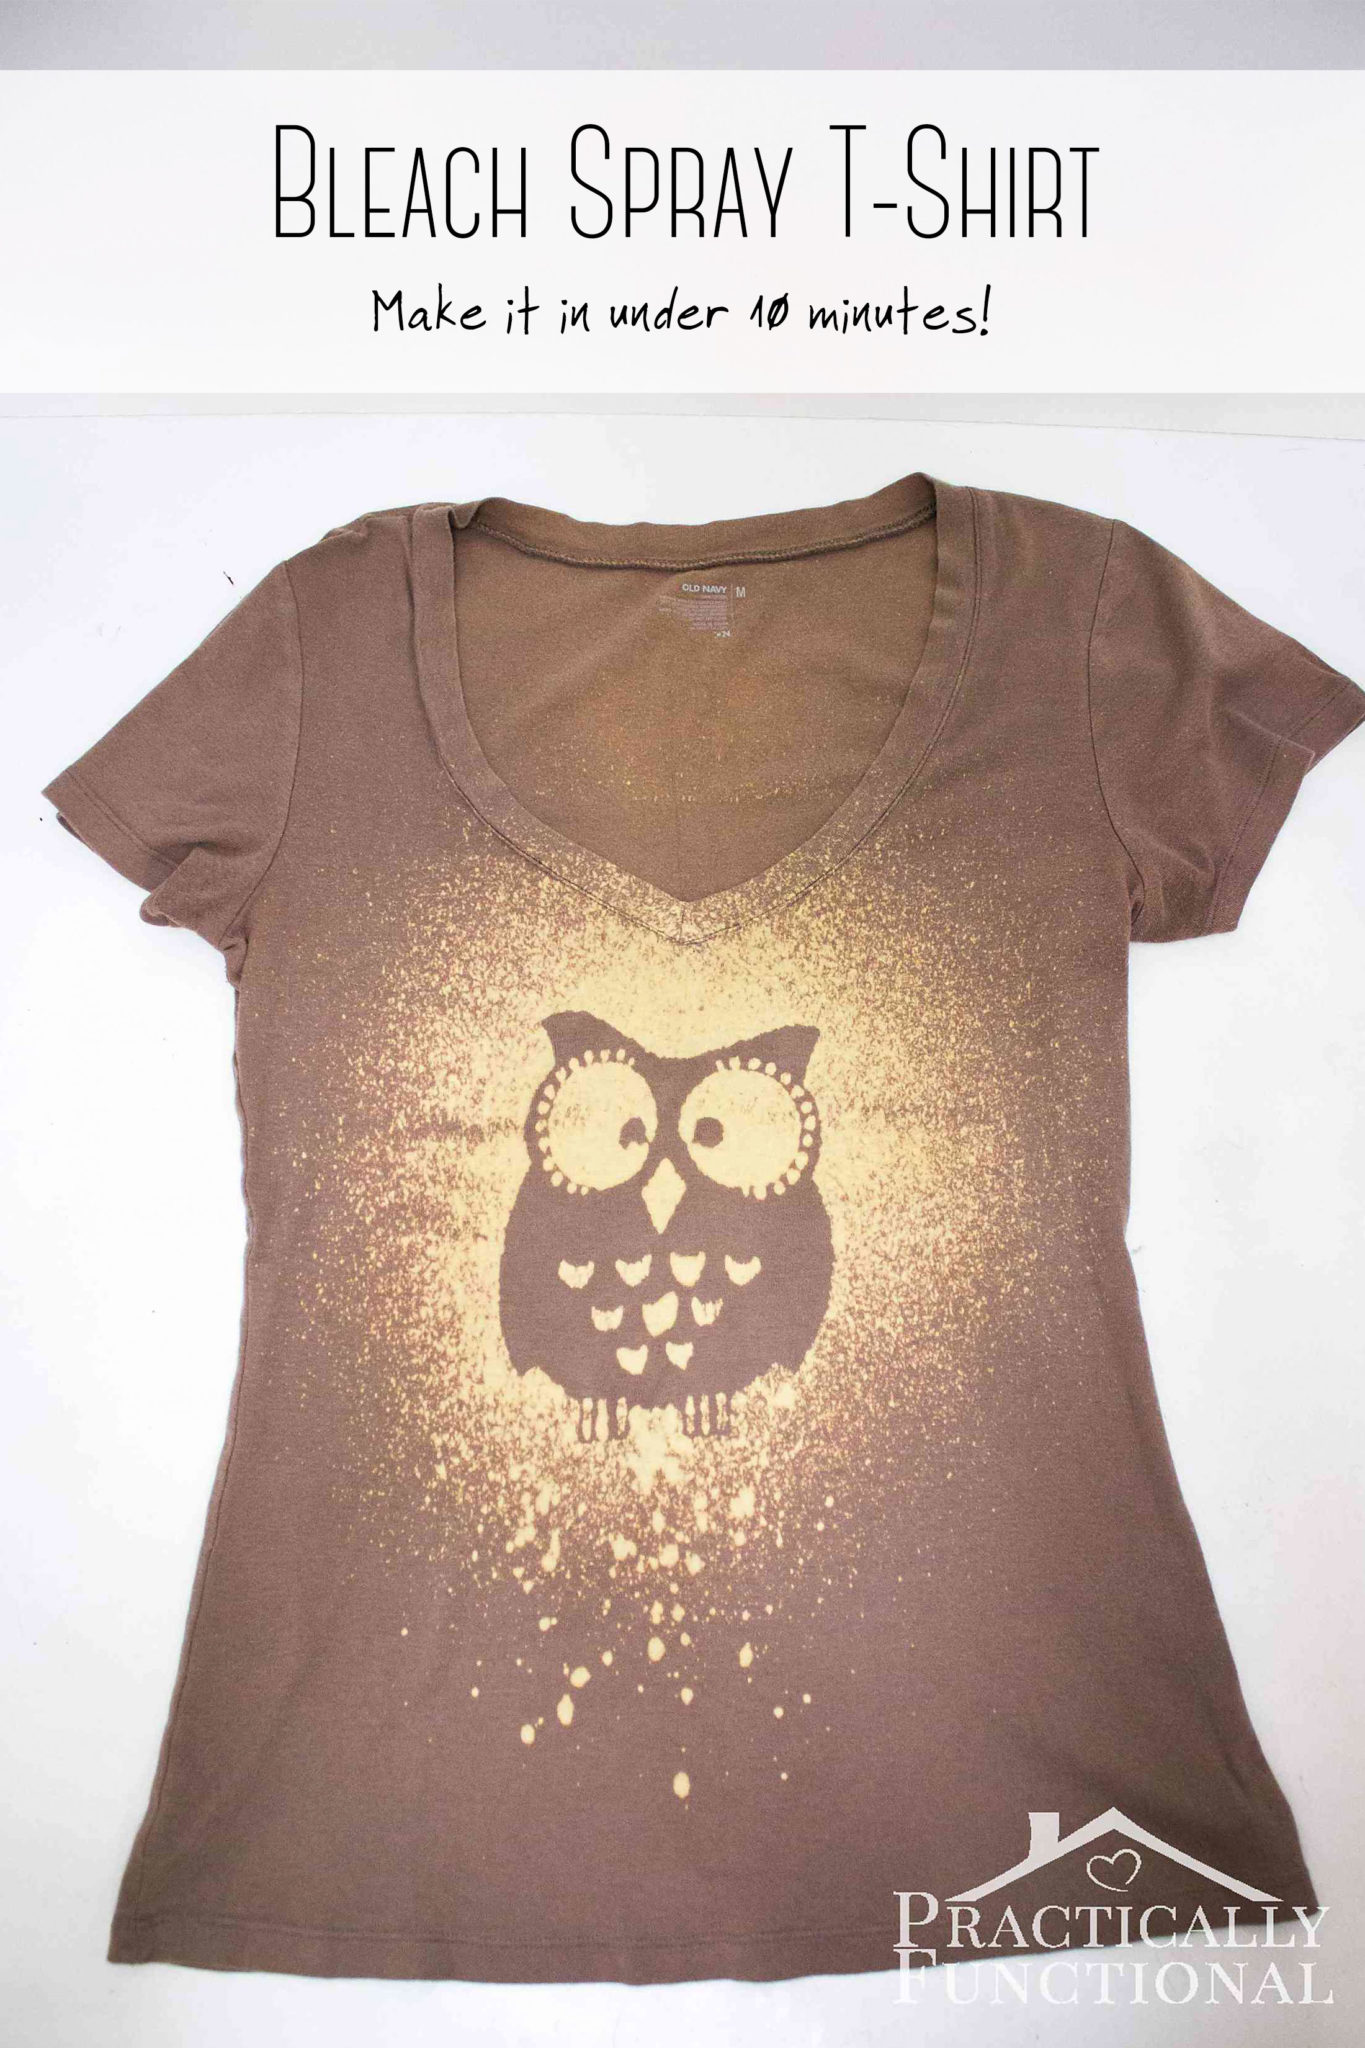
Don’t pick up the stencil until you’re sure your shirt is exactly how you want it! Then gently peel the stencil away, and you’re done! Hang the shirt and let it dry.
If you were a little heavy handed with the bleach, you may see some fine dusty powder on the shirt once it’s dry; that is just crystallized bleach. The best way to get rid of crystallized bleach is to throw the shirt in the dryer for half an hour. The tumble dry will knock the bleach powder loose without bleaching your shirt any further. DO NOT GET YOUR SHIRT WET if you see this powder! Water will reactivate the bleach and your bleach shirt design will be ruined!
Once the shirt is dry and there’s no crystallized bleach on it, rinse the entire shirt in cold water. Hang it up to dry, and then you can wash and dry the shirt as usual without fear of ruining the design. You may want to wash it by itself once, just to be sure you don’t accidentally bleach any other clothes.
No comments:
Post a Comment