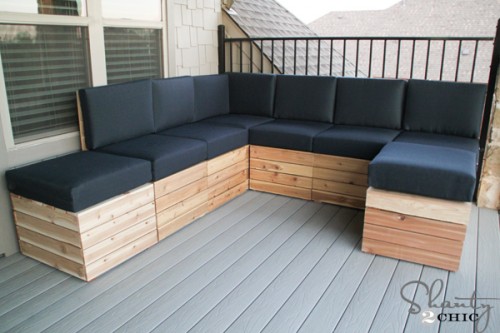
Hey there! Living in Texas, Fall is the BEST time for us to spend outdoors! One of the big reasons we picked the house plans that we did, when we built our house, was the balcony! I dreamed of a giant comfy sectional – the kind I see in expensive magazines – and of course my goal has been to build it! I finished it just in time – the weather has finally cooled off and this space is becoming my FAVORITE place to spend time!

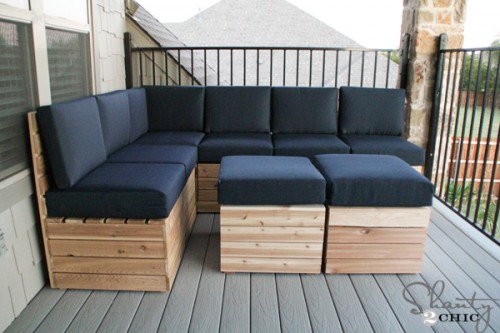
Not every space is built the same so I wanted to come up with a seating solution that could fit all spaces! I came up with this modular sectional that is SO easy to build. Every piece is basically a box and you can add a backrest or leave it off and there is a corner piece to create a sectional!
Today, I’m sharing the basic box seat with the optional backrest and of course, I have the step-by-step tutorial for you to follow as well as FREE Printable Plans! You can click HERE or the image below to print them!

A big thanks to Jay from Jay’s Custom Creations for the printable version of these plans!! *You can find the plans and tutorial for the corner piece HERE!
Now, let’s get to it! I built this for outside so I chose cedar boards.
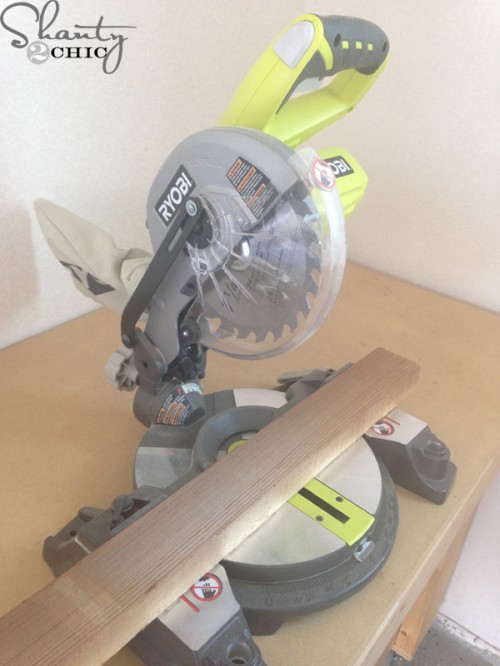
To start, I used my Ryobi 18V miter saw to cut every piece. This is a great saw that runs off of the same batteries as all of our favorite Ryobi 18V tools. It’s small enough to move around with you and doesn’t take up very much space. Whitney and I actually used it on a hotel balcony when we had to cut pieces for a class (shhhhhh ![]() )
)
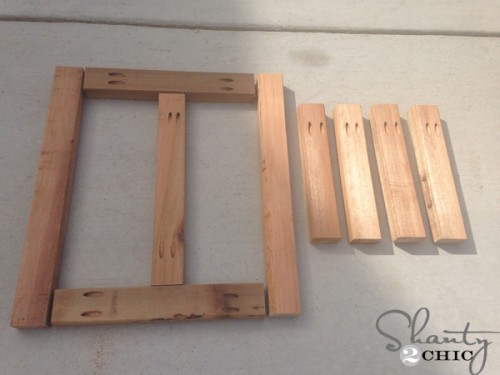
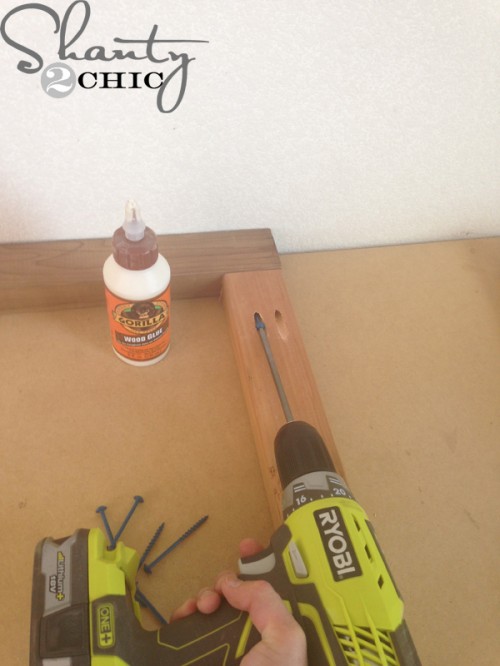
I made the 2×3 cuts for all of the boxes that I wanted to build.
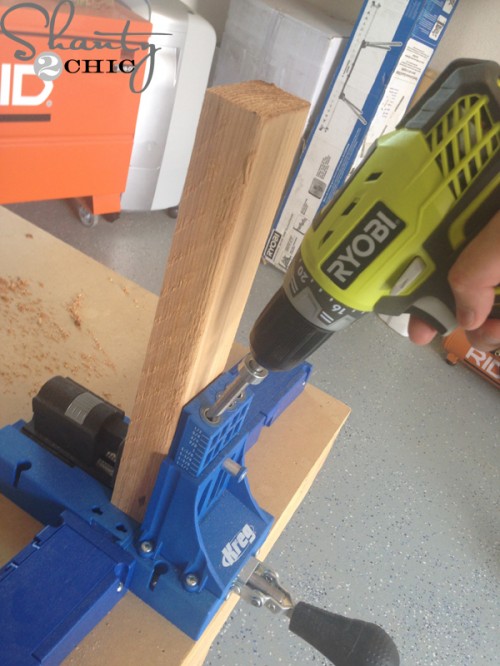
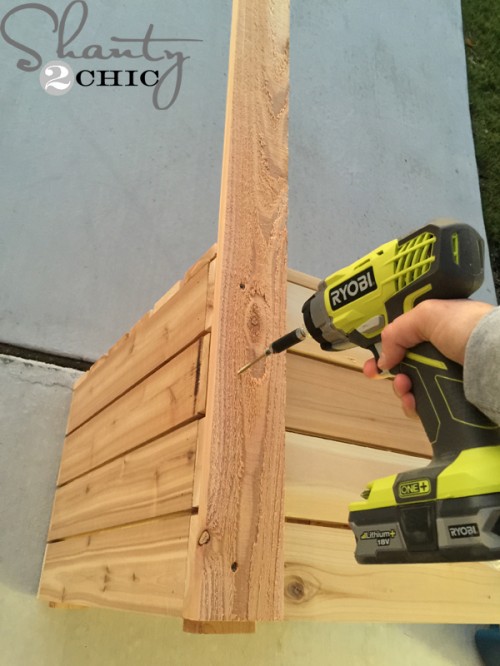
Then, I used my K5 to drill pocket holes. You can refer to the plans for the pocket hole location and you can see them in the cuts picture above.

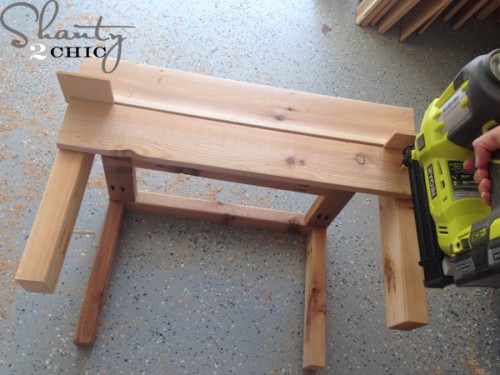
I attached the frame of the seat first,
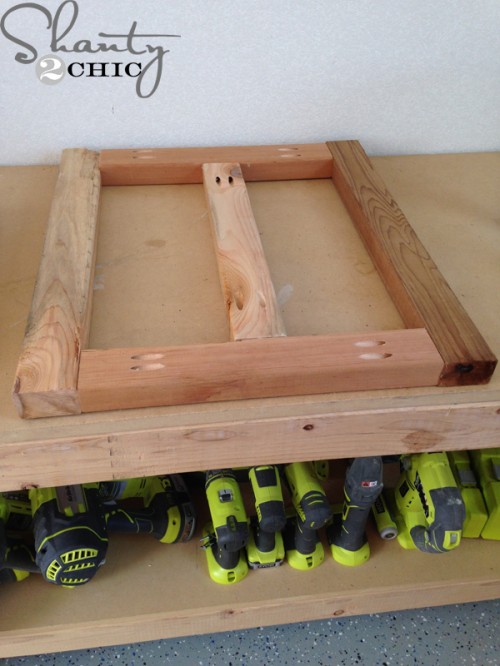
then added the center support piece.
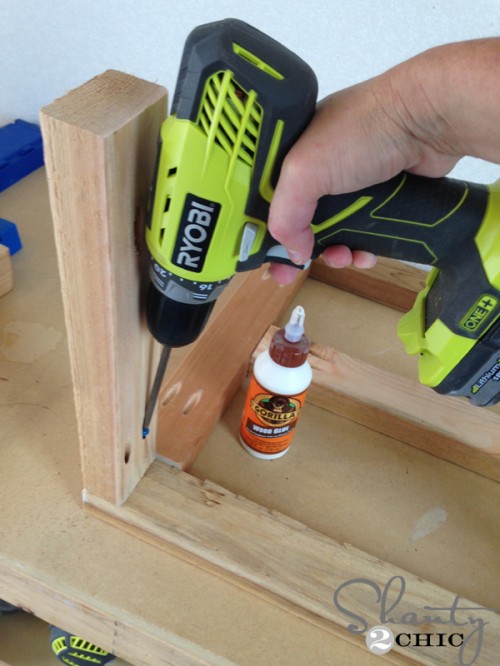
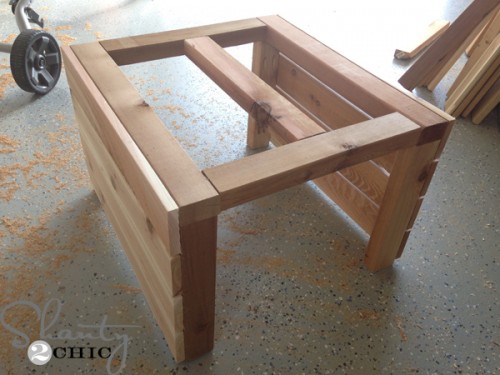
To finish the seat frame, I just attached the legs.
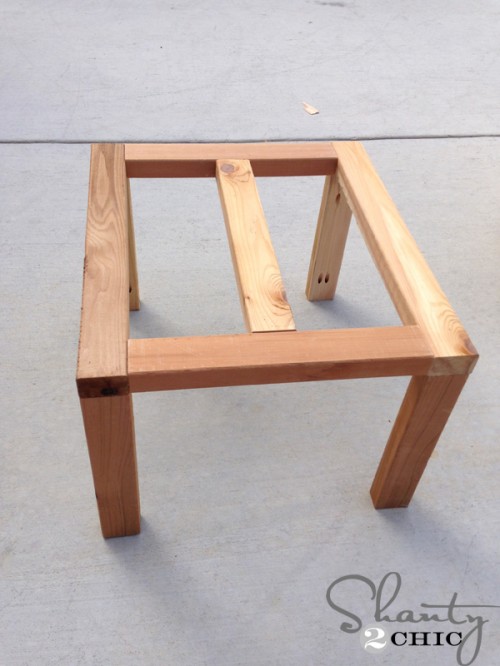
Frame = DONE ![]() Easy enough!! Now for the slats!
Easy enough!! Now for the slats!
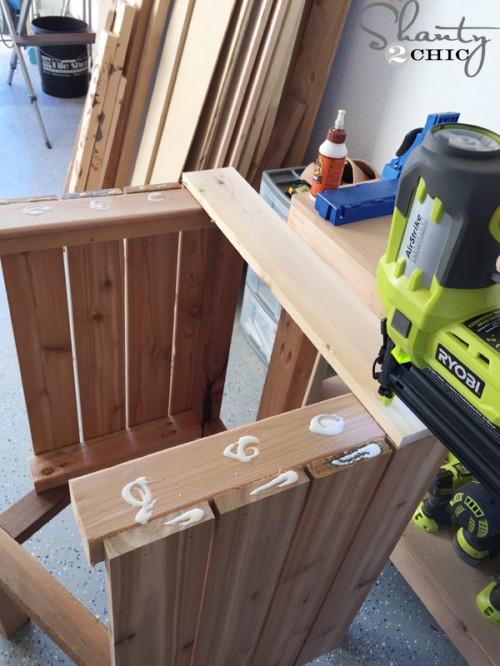
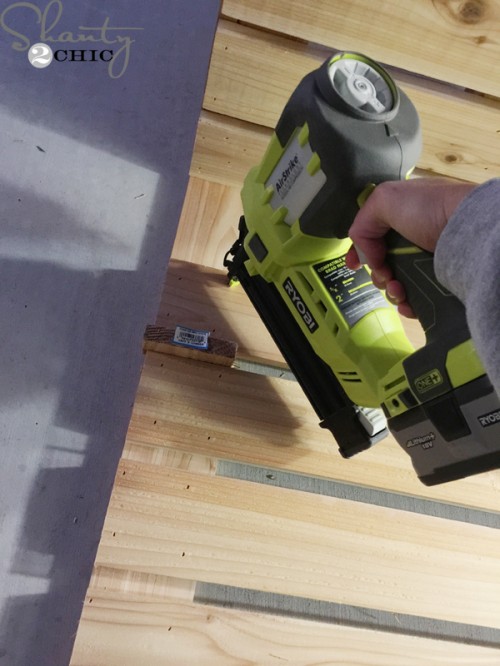
I began attached the side slats first. To make spacing easy, I used scrap 1/4″ pieces as spacers. Start at the top of the seat making the top slat flush with the 2×3 frame. I attached them with Gorilla Wood Glue and my Ryobi 18 gauge Airstrike Nailer (1 1/4″ nails for this).
Work your way to the bottom and you will have about a 1/2″ gap between the last slat and the end ground.
The front and back slats are easy. No spacers needed, just line the slats up with the side slats, glue and nail in to place.
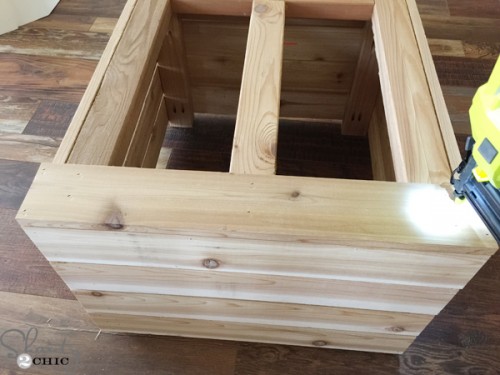
The top slats are last! I attached the front and back slats first, making them flush with the front and back slats (you will cover the slats so that you only see the top slats).

I used my 3/4″ cedar scraps to space the rest of the slats out and attached them with wood glue and my nailer. Nail these into the center support, as well.
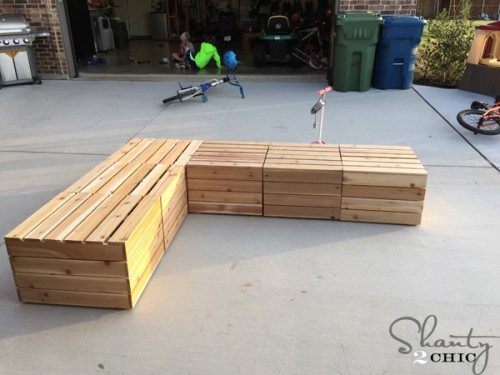
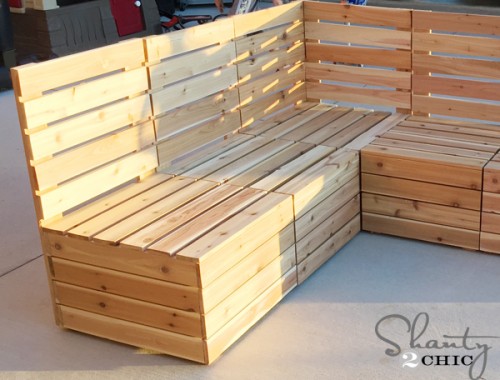
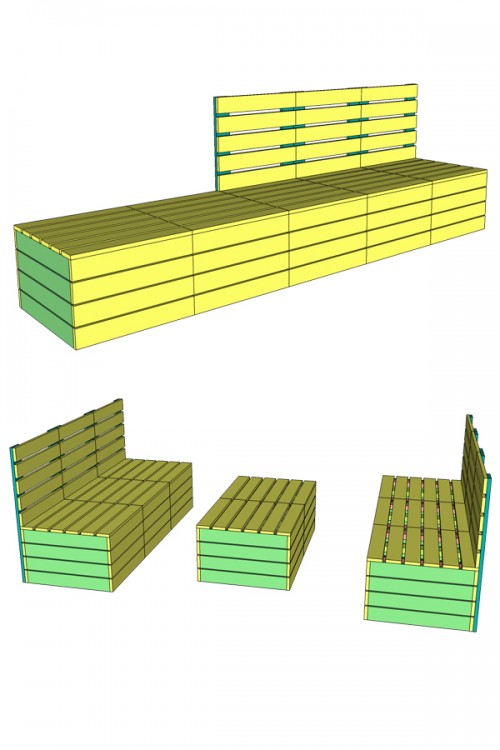
Here are the assembled boxes! (The corner box is a different size that I will share plans to next week). At this point, you can leave it as-is or add backrests!
I opted for backrests ![]()
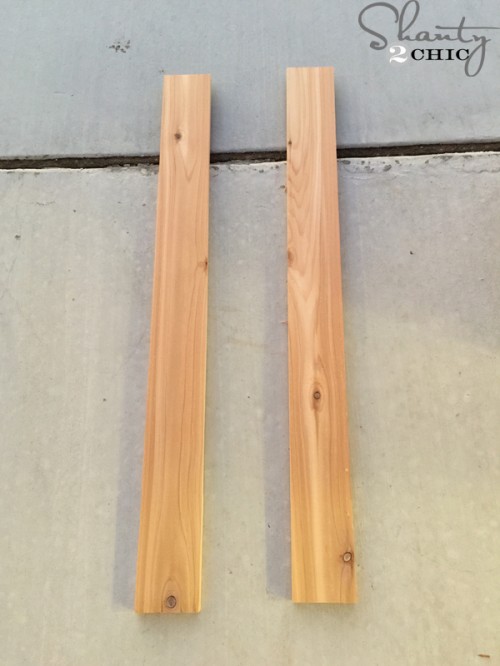
I cut the posts first
Then attached them to the back of each box with 2 1/2″ spax screws. The screws will go into the 2×3 legs inside the box.
Then, I added my slats. Begin at the top of the backrest and attache with wood glue and 1/4″ nails. I used 3/4″ spacers and attached 5 slats.
That’s it!!!! I wanted to keep the natural cedar look so I just applied 2 coats of Varathane Spar Varnish all over and called it a day ![]()
I found a great deal on deep seat cushions at target.com. I used my Red Card so I saved 5% after the sale price and got free shipping. I did design the seats based on the cushion measurements but they are pretty standard measurements and should fit a variety of cushions. Just make sure to check dimensions if you choose different cushions and modify the plans accordingly. You can see the cushions that I purchased HERE.
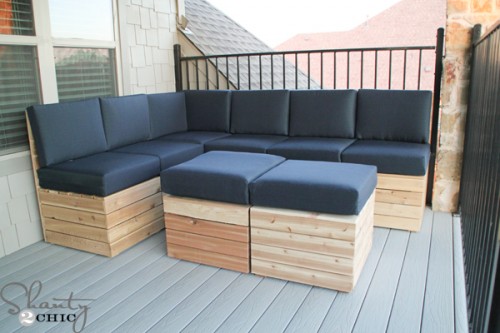
I have mine set up to have two boxes create a coffee table that can double as ottomans
or they can be arranged to create a chaise lounge end
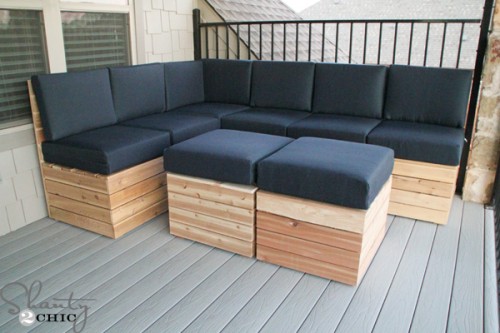
or this set up ![]()
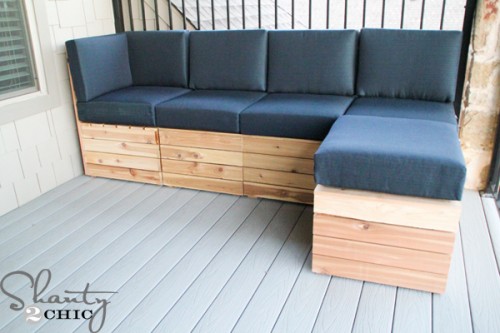
or this!
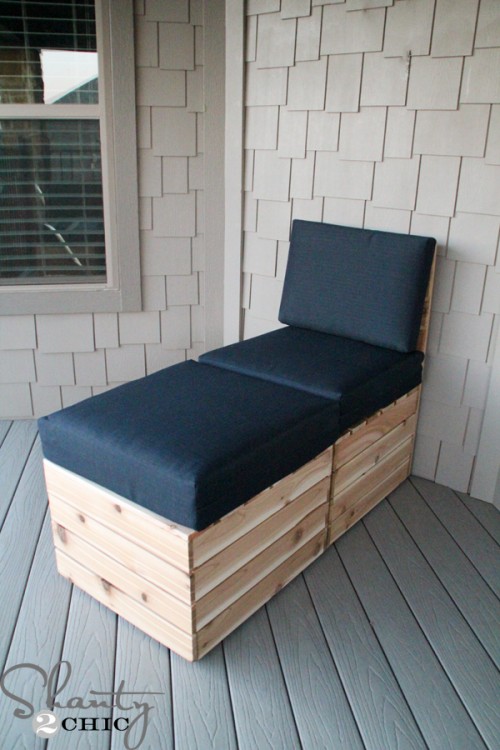
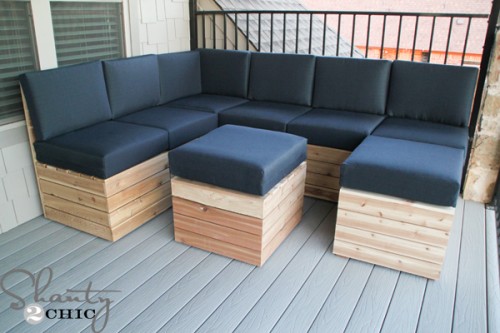
You could even create an individual chaise lounge, or two, for a small space!
There are so many possibilities, even without the corner piece!
I LOVE, LOVE, LOVE this space now! And, if I get bored with it I can always rearrange things;) This seating works great with our without cushions and another cool thing about this type of seating is that you can build a little to start and add to it as your budget allows! I’ll be back next week to share the corner piece plans!
Also, check out this video that Whitney and I shot for Ryobi! There are 3 NEW and EASY DIY projects using the Airstrike tools!!!
This is a crazy question but what is the name of the font you used for the title of this post
ReplyDelete