
I’m funny. Sometimes ha-ha funny, sometimes left-out-of-the-fridge-too-long funny.
But as we all know, there are times for funny and times for seriousness. This is one such time. For seriousness that is.
So this post will involve no funny. No laughing, no snickering, no coffee spitting.
Because the information I’m about to introduce you to deserves a reverence that can’t be accomplished when diluted with hilarious jokes or cutting sarcasm.
I’m going to teach you how to transfer any photograph or picture onto wood.
Wood wood. Not dingle dangle wood.
You don’t know it yet, but this is the greatest day of your life. You get to produce something beautiful without any pain or tearing of your woman bits. Plus it won’t turn into a whirling, dangerous ball of hormones in 13 years.
A couple of weeks ago I decided I wanted to try making something but it involved transferring a photo onto wood so I did a little research. Most of the tutorials I came across involved a few specialty materials like matte gel and the backing paper of printer labels. I didn’t have any printer label paper handy and don’t even know what matte gel is.
So I kept looking for a cheaper (don’t have to buy anything) and simpler solution. Mid search I suddenly remembered my mother mentioning something Mag Ruffman had done a couple of years back.
It was the perfect solution and it works GREAT.
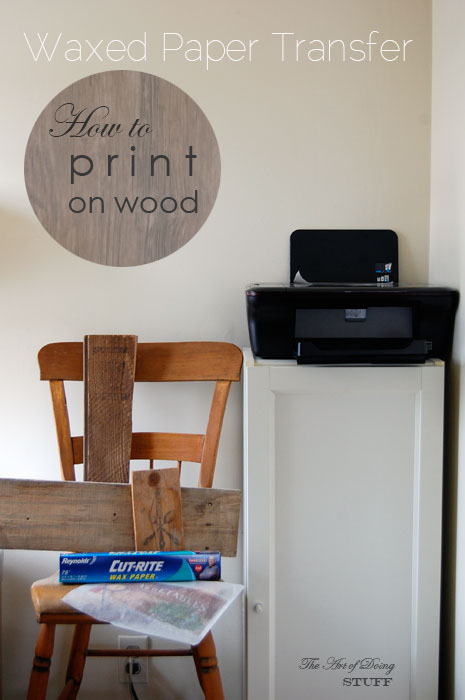
All you need is a printer, a roll of waxed paper and a dream.

That’s right. All you need is a regular inkjet printer and regular waxed paper.
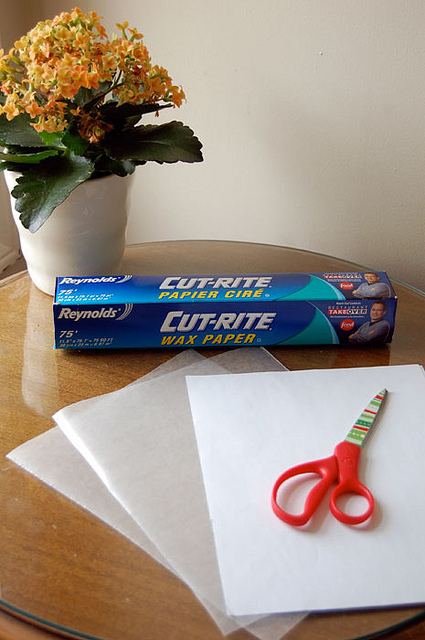
Cut a few sheets of waxed paper to the size of a standard piece of printer paper.
Find a smooth, light coloured piece of wood. Actually find a few so you have some to practice on.
Then, find a high resolution image you like. Or make your own. The Graphics Fairy is a great place to start for copyright free, high resolution images.
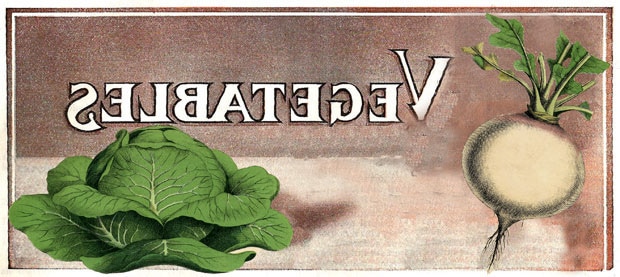
Once you have an image you like, reverse it using whatever photo program you have on your computer. If you’re not sure how to do that just Google it.
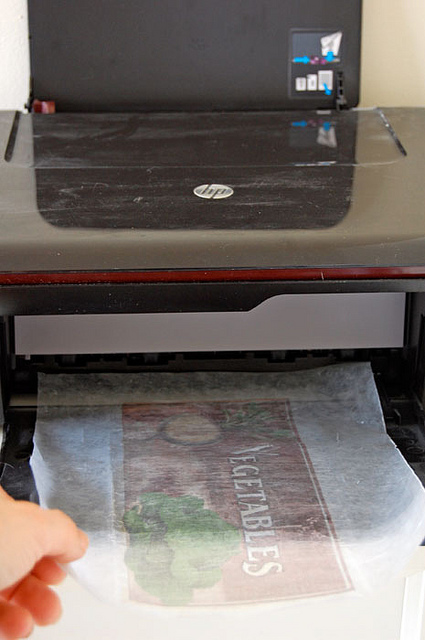
Put a sheet of your waxed paper into the printer and click print.
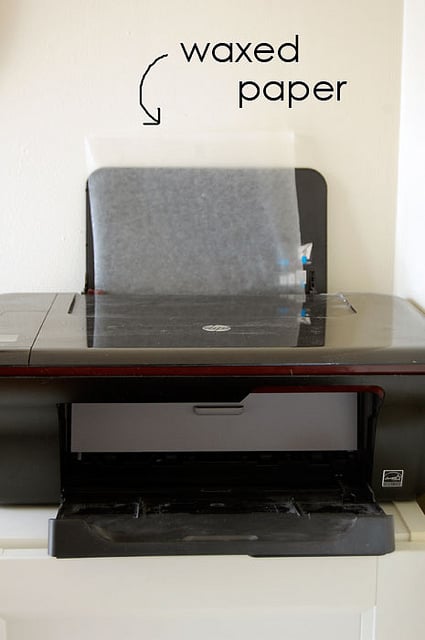
As the waxed paper comes out of the printer, gently guide it. You have to be careful it doesn’t roll under itself or touch itself in any other way because it will smear the ink.
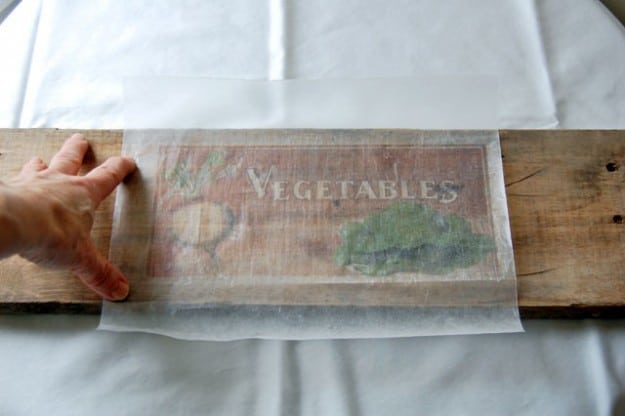
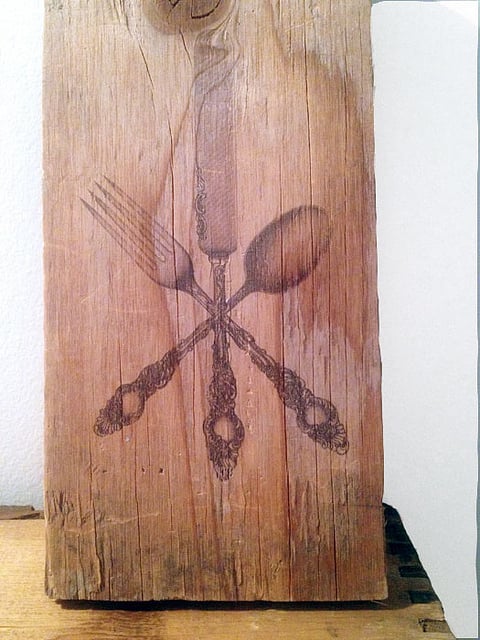
Put your image exactly where you want it on the wood. Remember … this can be any unfinished wood. A bench, table, box, or anything!
Once you place your image you can’t move it. Do not move it. It will smudge. You will be sad. Then you will cry and it will smudge some more.
Want more STUFF like this?
Get my posts emailed to you daily.
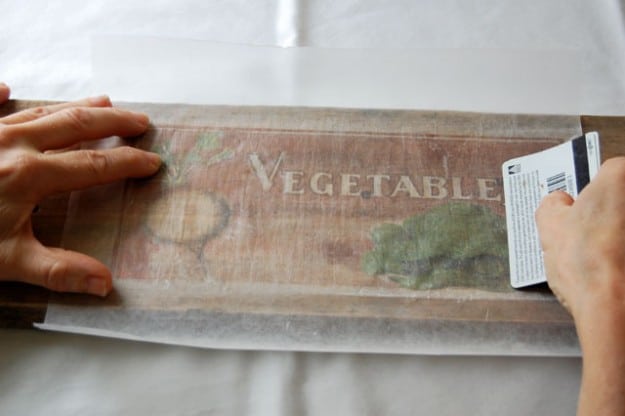
Holding the transfer tight to the wood, and working quickly, swipe the edge of a credit card across the image. This pushes the ink from the waxed paper down into the wood, which absorbs it.
Don’t be wimpy about this. Push hard, but not so hard that you rip the waxed paper. You can gently lift the paper to see if it’s transferring well. If you notice spots that haven’t transferred, rub it some more with the credit card, this time burnishing it.
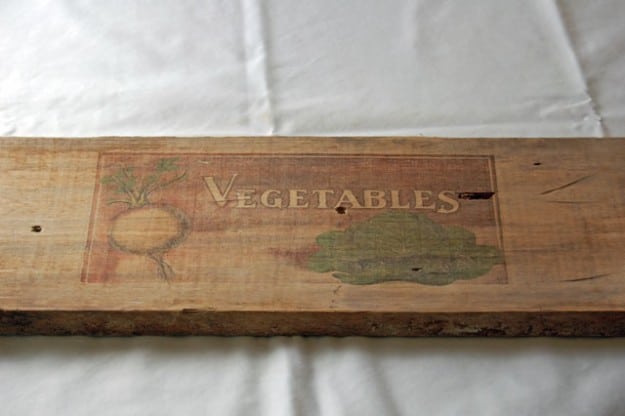
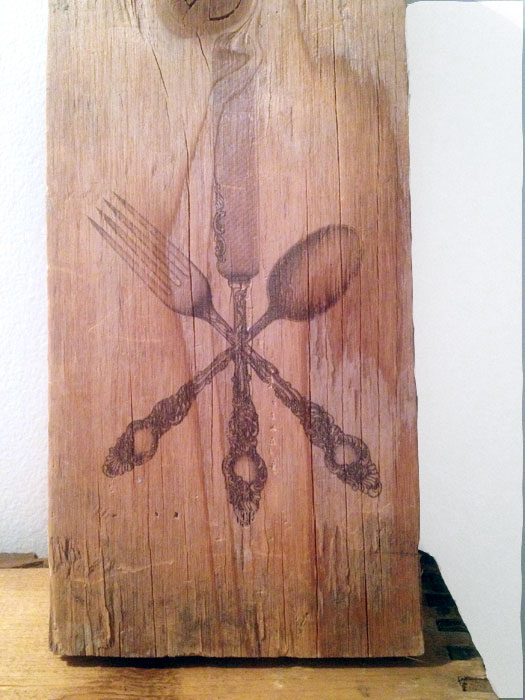
When you’re pretty sure that you’ve transferred as much ink as possible lift off your waxed paper and get ready to call someone. Because that’s the first thing you’re going to want to do because this method works so well.
You’ll be stunned.
You’ll naturally want other people to be stunned. It’s a DIYer thing.
I tried a few images just because it was so fun.
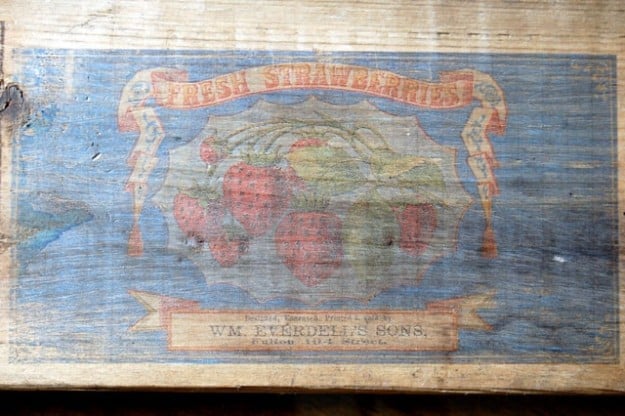
Like I said earlier you can use this technique on any smooth, unfinished wood like old crates, tables, or chairs. For anything that’s going to have wear and tear, just remember to spray it with a a clear matte finish after you do the print. Any wood sealer will protect it.
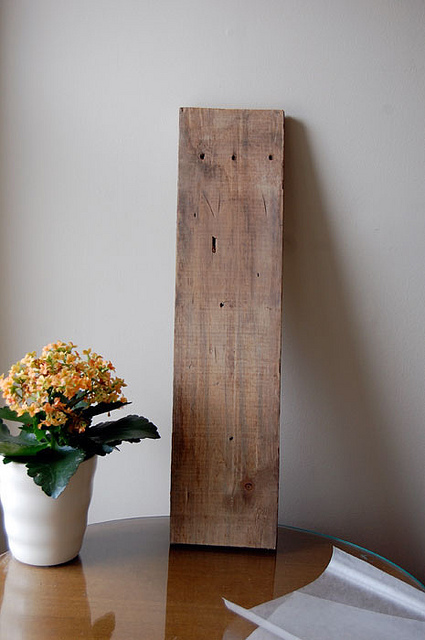
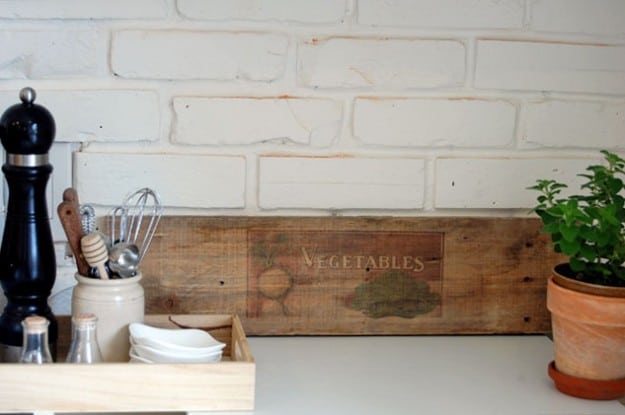
If you don’t have a table, chair or dresser you want to print on, you can just find a nice old board and prop it against the wall, or hang it.
Quick Reference Directions:
Waxed Paper Transfer
1. Cut sheets of waxed paper to the size of computer paper.
2. Print your image onto the waxed paper with any Inkjet printer. (must reverse image first using whatever photo program you have) In answer to some of your comments, no, it doesn’t matter which side you print on. Both sides of waxed paper are waxed.
3. Carefully place the image on your wood (wet side down) and then rub over it with a credit card.
4. Removed waxed paper and the ink is now transferred to the wood.
5. Seal with a matte spray wood sealer if you like.
Tips
Use smooth wood. Rough barn board won’t work, but smooth barn board will.
Darker colours on lighter wood works best.
Dampening the wood a bit with a sponge will make the transfer darker, but it might blur and smudge if you’re not extremely careful.
Here’s the most exciting part. This is just Part I of this post. Part II will come in 2 days, when I show you how to use this technique to make a GREAT table centrepiece, perfect for Easter.
this sounds so easy I'll have to try this
ReplyDelete